
Before you publish
Review everything an attendee will rely on before making a purchase.
- Date, time and venue confirmed
- Cover image and description reviewed
- Ticket quantities checked
- Stripe Connect onboarding complete
Create an event
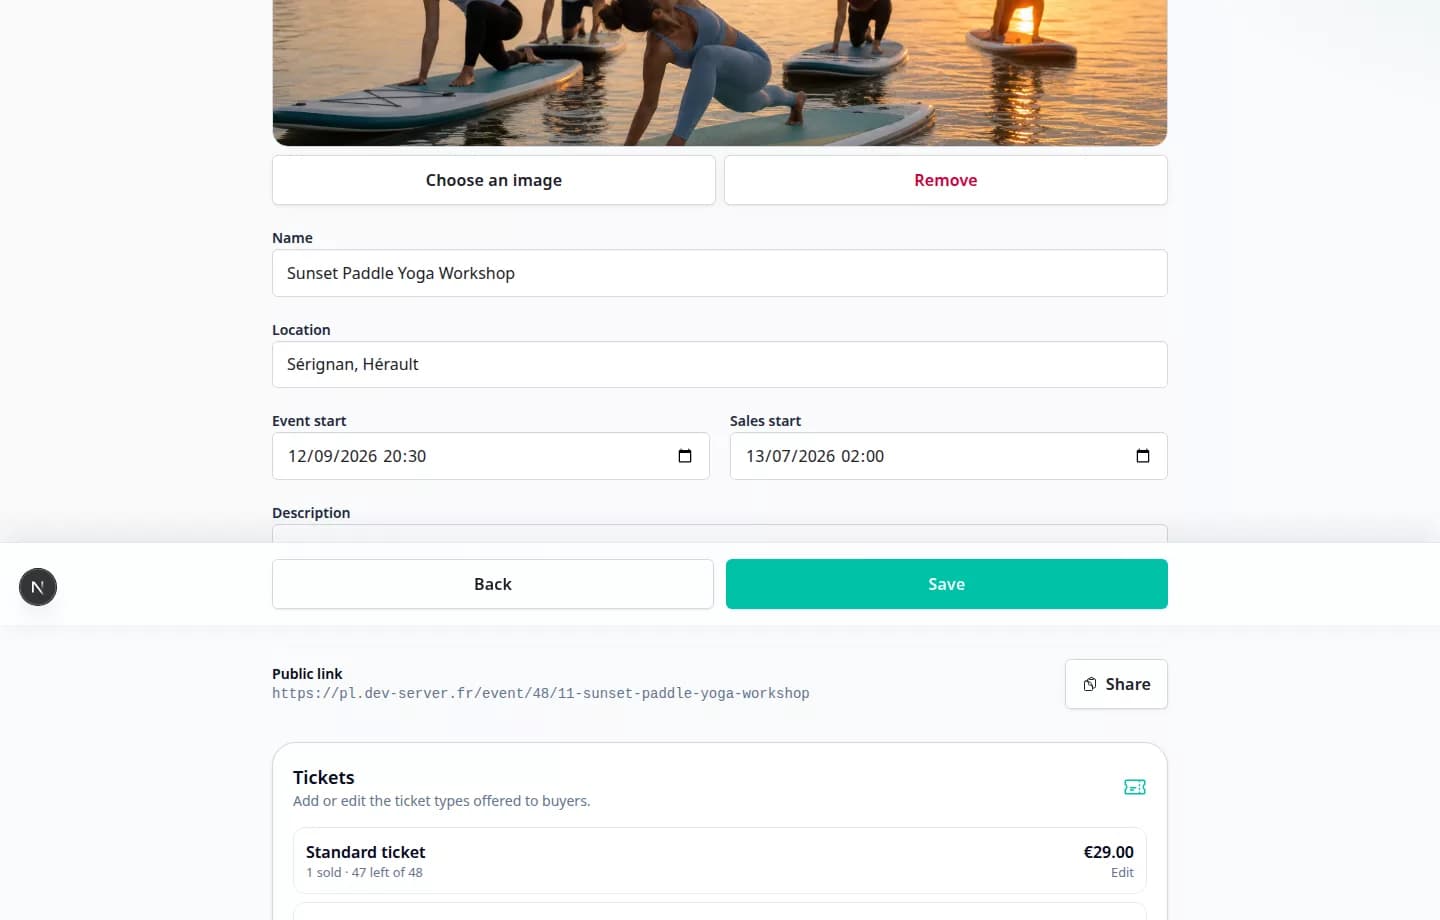
Bring together the cover image, description, venue, schedule and ticket categories. Keep the event as a draft while you review it, then publish when everything is ready.
What PayLinker covers
Enter the event name, description, cover image, location, date and times that attendees need before booking.
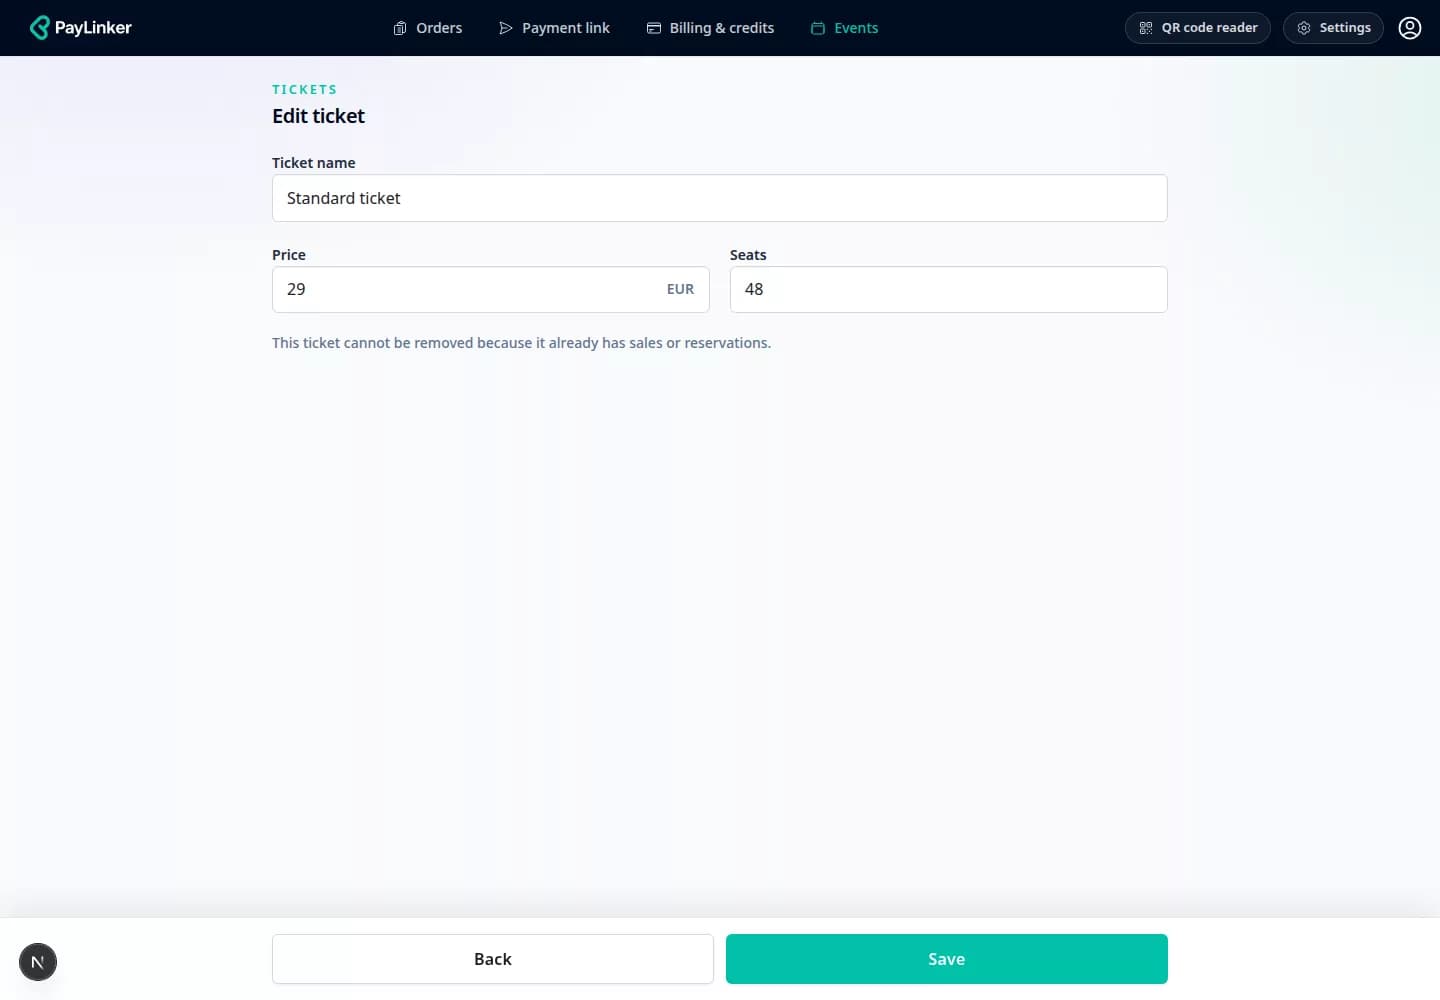
Give each paid category a clear name, price and available quantity so the page reflects the real capacity.
Check the public presentation before sharing it. The event can stay private while the information and ticket setup are incomplete.
A completed Stripe Connect account is required to publish and receive ticket payments.
Review everything an attendee will rely on before making a purchase.
An incomplete schedule, an incorrect capacity or unfinished Stripe onboarding can prevent a clean sales launch.
Add event details, the cover image and ticket types from the same workspace.
Yes. Draft status lets you complete and review the page before it becomes public.
Yes. Creating events is free and the number of events is unlimited.
Yes. Stripe Connect onboarding must be completed before the event can receive payments.
Create the event, check the ticket categories and publish when everything is ready.